Streamlining Customer Service: Mastering the Brightpearl-Gorgias Integration
What is Gorgias - Brightpearl Integration?

- The integration of Brightpearl and Gorgias is a powerful tool for businesses seeking to streamline their customer service operations. By connecting Brightpearl, a comprehensive retail operating system, with Gorgias, an advanced customer service help desk, businesses are empowered to provide seamless customer support from a single unified platform.
This integration offers several key benefits:
- Streamlined Customer Support: Businesses can manage all customer interactions, including orders, returns, and support tickets, from a single platform. This integration eliminates the need to switch between multiple systems, thereby saving time and enhancing operational efficiency.
- Real-time Order Tracking: Users of Gorgias have access to real-time order tracking information from Brightpearl, enabling them to provide customers with accurate and up-to-date order statuses.
- Automated Order Updates: Changes in order status are automatically updated in Gorgias, ensuring customer service representatives are always informed of the latest developments.
- Reduced Manual Data Entry: The integration significantly reduces the need for manual data entry, thereby lowering the risk of errors and freeing staff to focus on more critical tasks.
- Improved Customer Satisfaction: The ability to provide faster and more accurate support helps businesses enhance overall customer satisfaction and reduce churn rates.
Connector Flows
What Triggers the Order Flow?
- When a customer creates a support ticket in Gorgias, the integration automatically retrieves and displays order details from Brightpearl within the ticket. This includes information like the order number, order address, order line items, and payment details.
Does It Also Update Order Information?
- Yes, the connector is designed to automatically update order information in Gorgias when a ticket is modified. Any changes made to a ticket trigger an automatic update, pulling the most recent order details from Brightpearl. This automatic update is activated by specific triggers in Gorgias, including the creation of a ticket, any updates made to a ticket, and when a message is posted in the ticket.
How to get started?
Log in to the APIWORX Connector to Start the Process
To connect Gorgias and Brightpearl within APIWORX's Connector, follow these simple instructions:
- Log in to the connector using the credentials provided by your Implementation Manager.
- Once logged in, the "Integrations" dashboard will open.
- Search for Gorgias. You should see an interface similar to the image below.
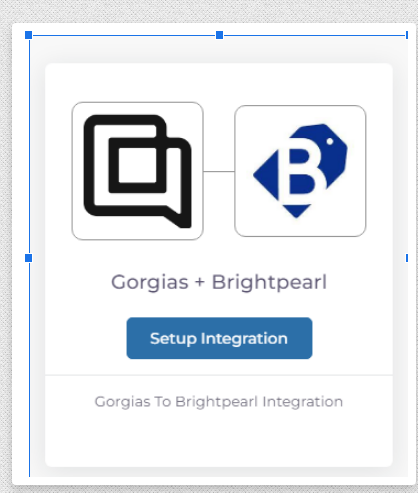
4. Click on the 'Setup Integration' button.
5. A popup will appear asking you to enter a friendly name for this integration. Choose any name that will help you remember this integration and then click the 'Save' button.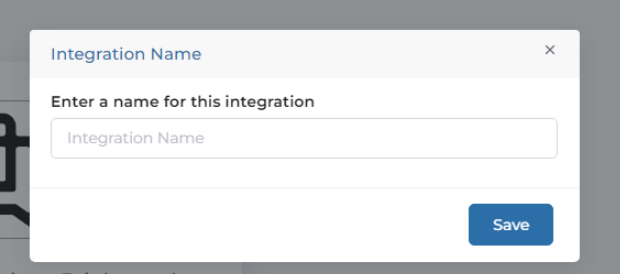
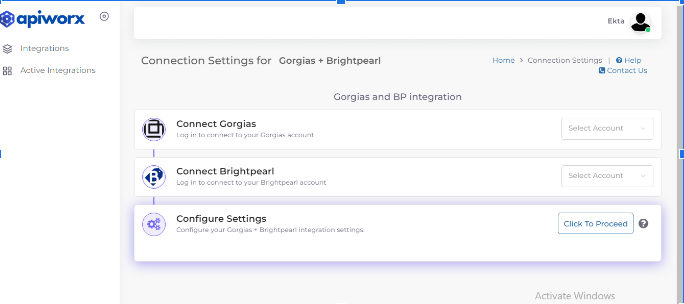
6. You will be redirected to a new page where you will need to connect both your Gorgias and Brightpearl accounts.
Steps for Connecting a Gorgias Account in the Connector:
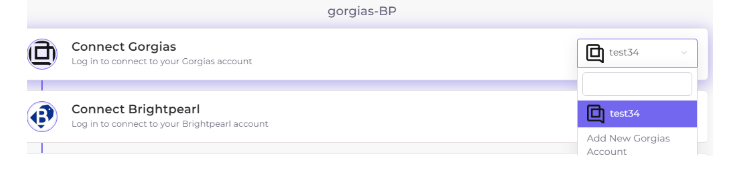
1. To connect a Gorgias account, click on the 'Select Account' dropdown menu. Choose ‘Add a new Gorgias account’, and select it. Upon selection, a screen like the following will appear.
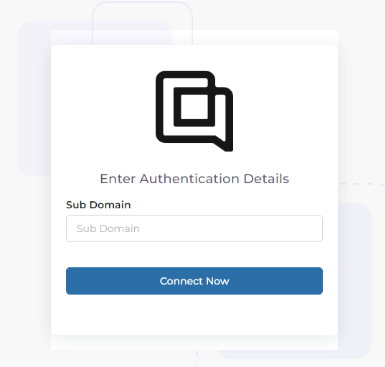
2. In the 'Sub Domain' field, enter the subdomain name. For instance, if your Gorgias URL is https://apiworx.gorgias.com, simply enter 'apiworx' as the subdomain.
3. The next window will prompt you for an email ID and password. Enter the credentials you use to log into your Gorgias account. Ensure that these credentials have admin access.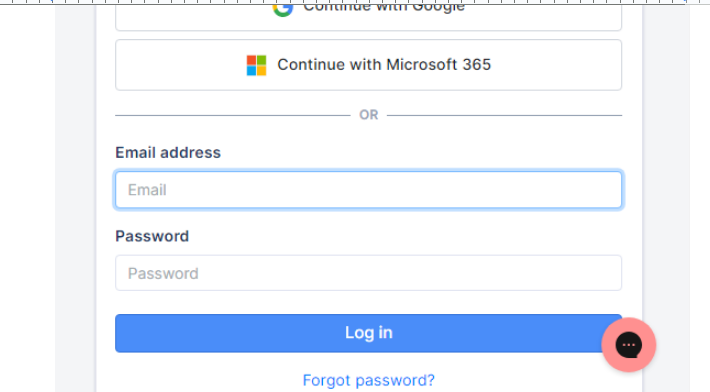
4. After entering all the details, click 'Save'. Your Gorgias account will then be connected and will appear in the dropdown menu.
Steps for Connecting a Brightpearl Account in the Connector:
1. Click on the 'Select Account' dropdown menu. Select 'Add new Brightpearl Account,' and you will be redirected to the Brightpearl account login page.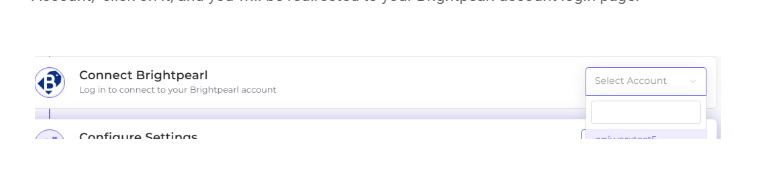
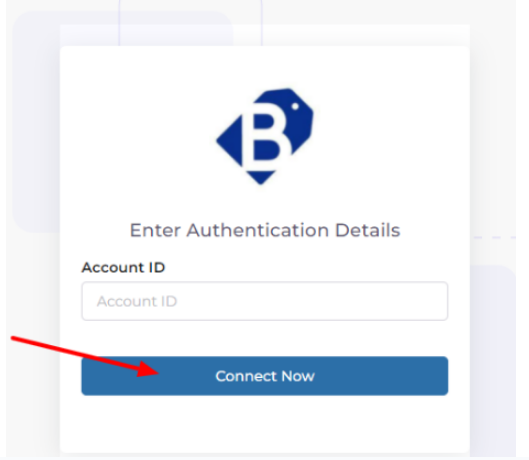
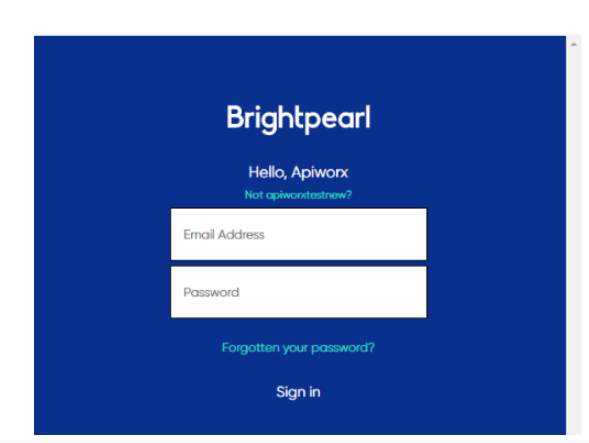
2. Enter your Brightpearl Account ID, the one you use for logging in, and click the 'Connect now' button.
3. Log into Brightpearl using the same credentials you normally use to access your account. Ensure that the user account you are logging in with has all the necessary permissions.
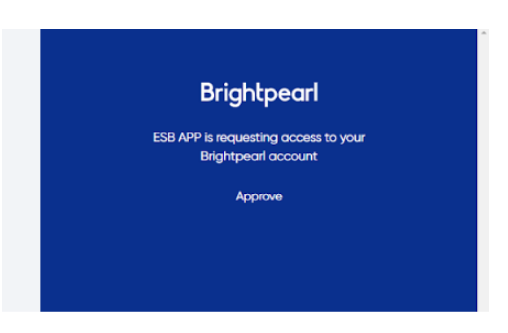
4. Click on 'Approve' to grant the Connector access to your Brightpearl data. This will successfully connect your Brightpearl account.
5. Once both accounts are connected to the connector, the interface will appear as shown in the image below.

Configurations
To initiate the connector, you only need to configure one setting:
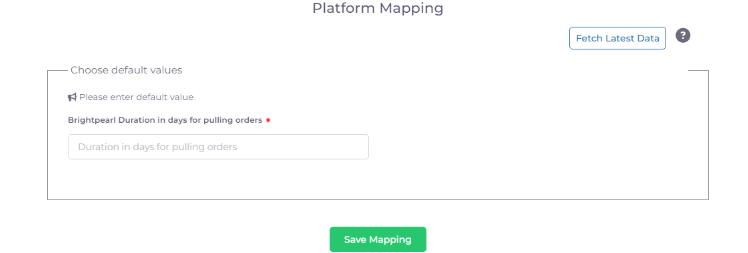
Brightpearl Order Pull Duration: Specify how many days back the connector should retrieve historical orders. The connector will display order information in your Gorgias account relating to the customer’s record.
Please note that the connector can retrieve a maximum of 60 days of orders.
Flows
In this tab, users can control and enable the data flow, allowing orders to be retrieved from Brightpearl and displayed under Gorgias's Customer Record. This feature can be disabled if not required.
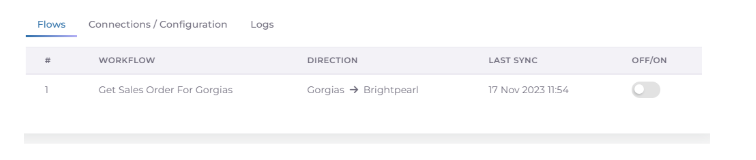
The following explanations clarify the meaning of each column name displayed in the Flows section.
| Workflow | Displays the various flows available in the connector |
| Direction | Indicates the path of data flow from the source of the destination |
| Last Sync | Specifies the date and time of the last successful synchronization between the connector and the source system. |
| OFF / ON | Users can enable or disable the flow according to their preference using the on/off switch provided. This feature offers the flexibility to control data flow. When turned off, data transmission between the platforms will be halted. |
Logs
This tab offers users a detailed overview of all data processed by the connector. It includes key information such as the source and destination of the data, the data type, and the timestamps of each transfer. This comprehensive information is valuable for diagnosing and resolving any data transfer issues.
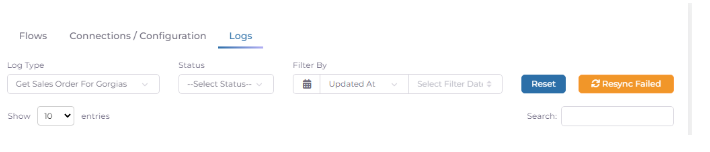
Filters Available in Logs
Various filters are provided, allowing users to sort and view specific data within the log table.
| Log Type | Specifies the type of logs to be displayed. |
| Status |
Indicates the status of each log entry. There are various status types in the log:
|
| Filter By | Enables filtering of logs based on a specified date range. |
| Reset | Clears all applied filters from the logs when clicked. |
| Resync Failed | Initiates an attempt to resynchronize all records that previously failed to sync when clicked. |
Log table
The log table acts as a comprehensive record of all data transfers managed by the connector. It offers crucial insights into the origin, destination, type, and timing of each data transfer. This detailed information is essential for identifying and resolving any discrepancies in data transfer.

| Integration Platform | Shows the data flow direction, from source to destination. |
| Source Reference # | Specifies the ID of the data pushed in the source platform. |
| Destination Reference # | Indicates the ID of the data pushed in the destination platform. |
| Last Synched At | Denotes the most recent time when the connector updated data on the destination platform. |
| Type | Describes the type of data being displayed. |
| Status | Indicates the status of the data at the last time it was pulled and stored by the connector. |
| Updated At | Marks the last time the connector retrieved data from the source system. |
| Action | Features a 'Resync' button, which can be used to reattempt pushing data to the destination if the initial attempt fails. |
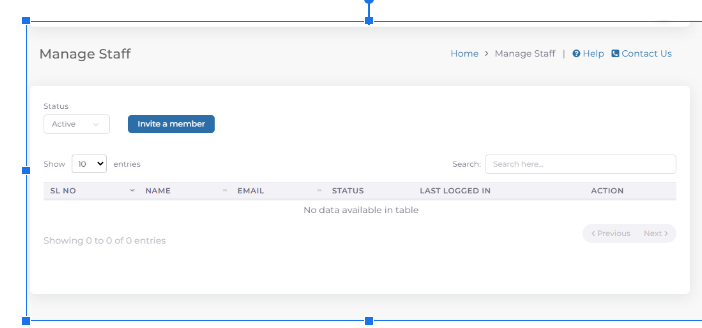
How to Add Team Members / Staff in the Connector
Manage Staff
- This menu allows admin users to grant access to the connector to other team members. Granting access can be done by following the steps outlined below. Once a team member has been granted access, they will be able to use the connector. The extent of their ability to perform tasks depends on the permissions set by the admin.
- Navigate to the 'Manage Staff' menu.
- Click on 'Manage Staff'. The following window will be displayed on the screen.
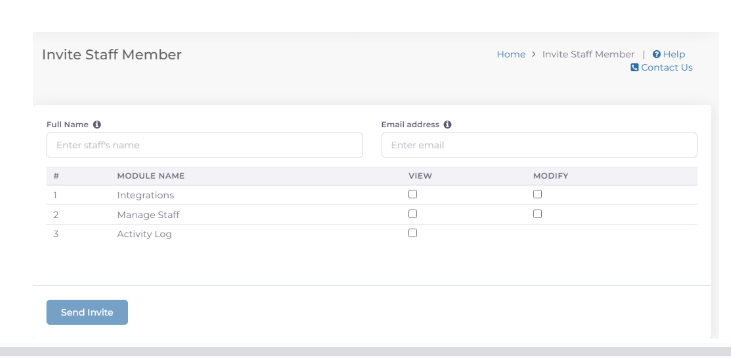
4. Enter the full name of the person you want to add as a staff member and their email address. Specify the access permissions:
a. View: If a person has view-only access, they can only view information and cannot edit it.
b. Modify: If a person has modify access, they can view and update data in the connector.
5. After specifying the permissions, click on the 'Send Invite' button. An invitation will be sent to the user's specified email id with the login credentials.
6. Team members can access the connector using these login credentials.