Seamless Integration Steps for Brightpearl and Kefron through BrightConnect
Getting Started
Connecting Your Accounts
To connect Brightpearl and Kefron with BrightConnect, permission is firstly required. Follow the simple instructions mentioned below:
- Log in to the ESB APP.
- Once logged in, a dashboard named “Integrations” will open.
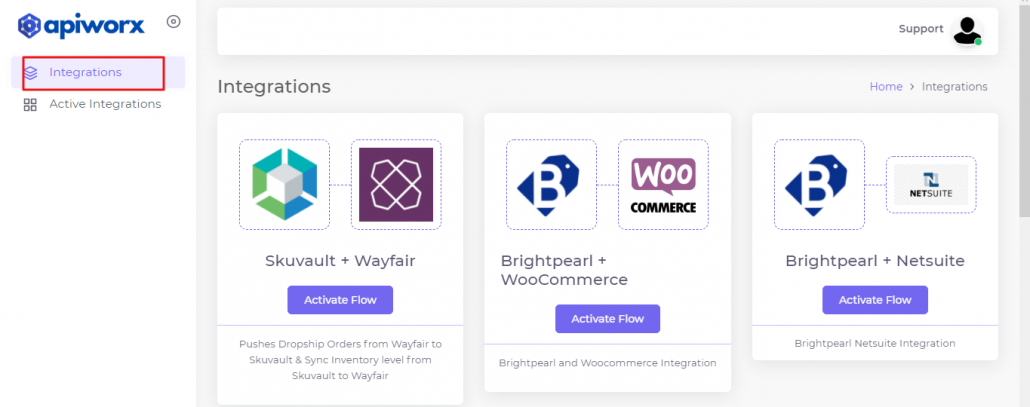
3. Navigate to Brightpearl + Kefron and click on the “Activate Flow” button.

4. Enter a friendly name for this flow.

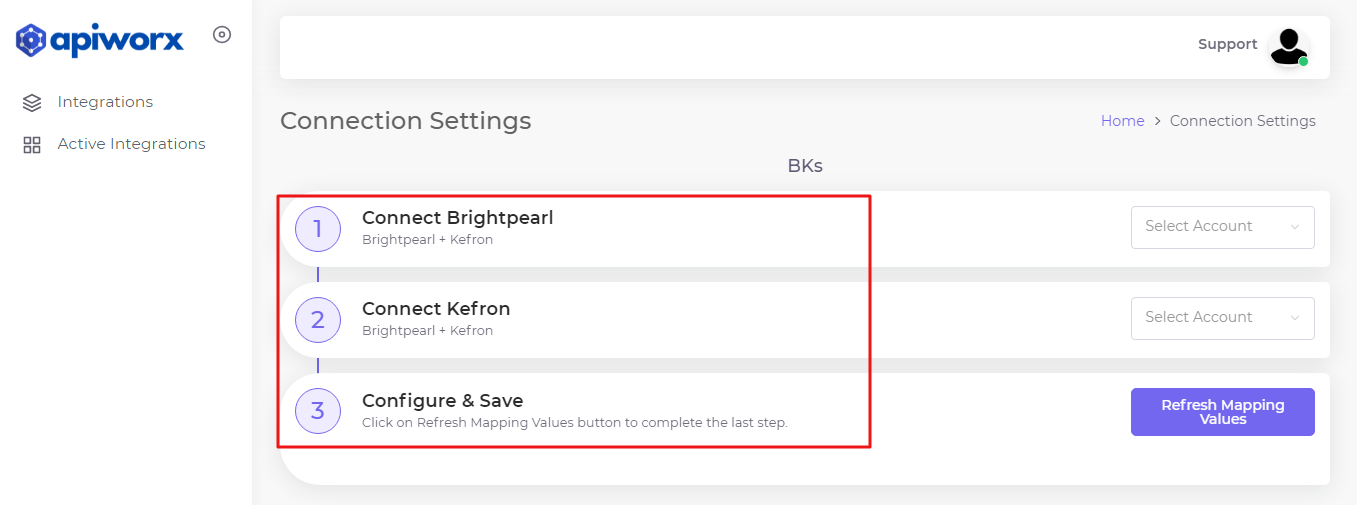
Connect your Brightpearl account
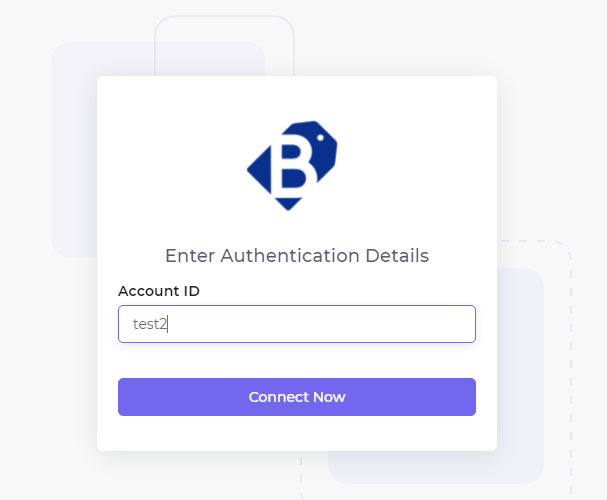
6. (a) Add your Brightpearl account – Click on “add new Brightpearl account” from the drop-down.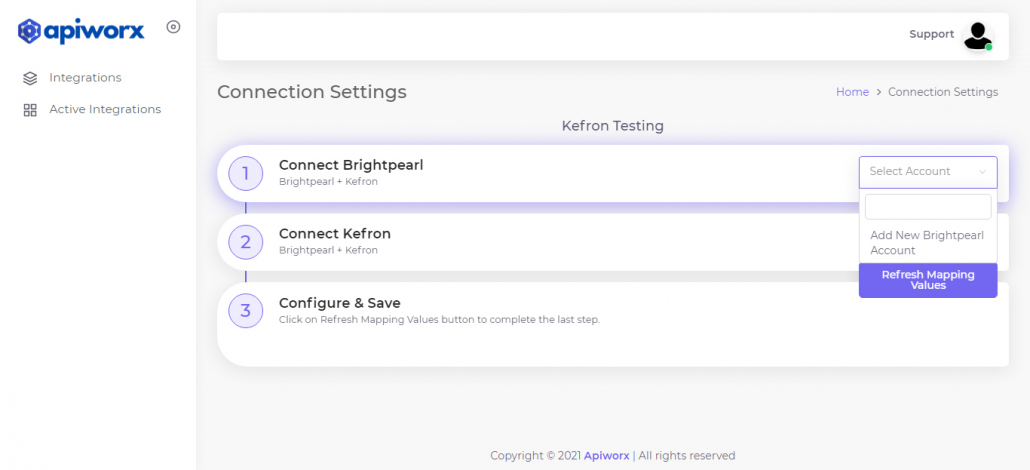
Upon selecting the option, a new pop-up will open where you have to add your Brightpearl’s details to complete the authorization process:
(i) Add Account ID of Brightpearl –
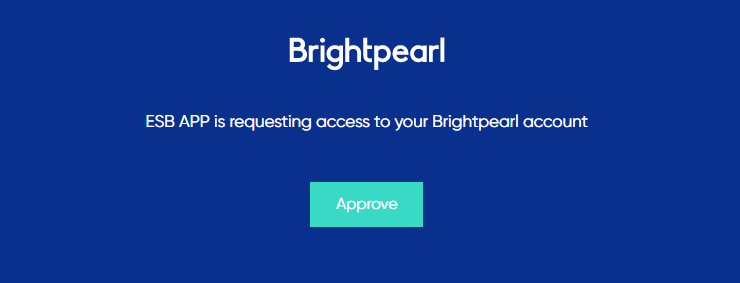
After adding the “account ID,” you will be redirected to the Brightpearl authentication page. Click on the “approve” button to grant permission for the connection; Brightpearl will then be successfully connected.
Now, we can move forward to the next step of connecting Kefron with Brightconnect.
Connect your Kefron account
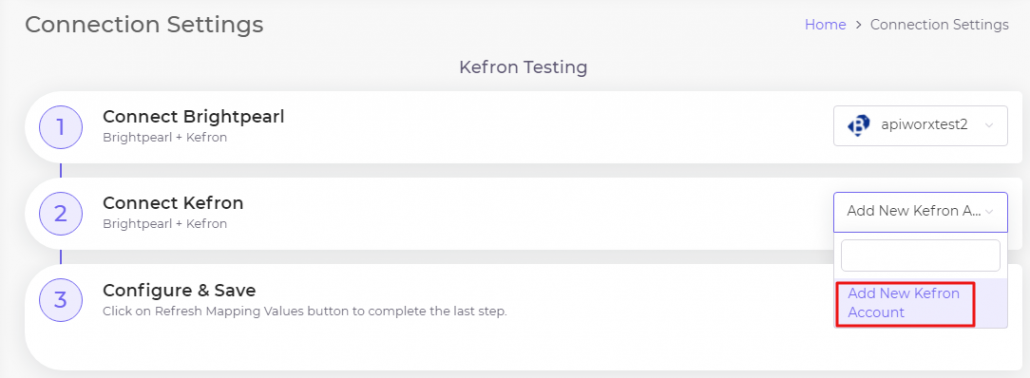
Upon selecting the option, a new pop-up will open where you have to add your Kefron’s details to complete the authentication process:
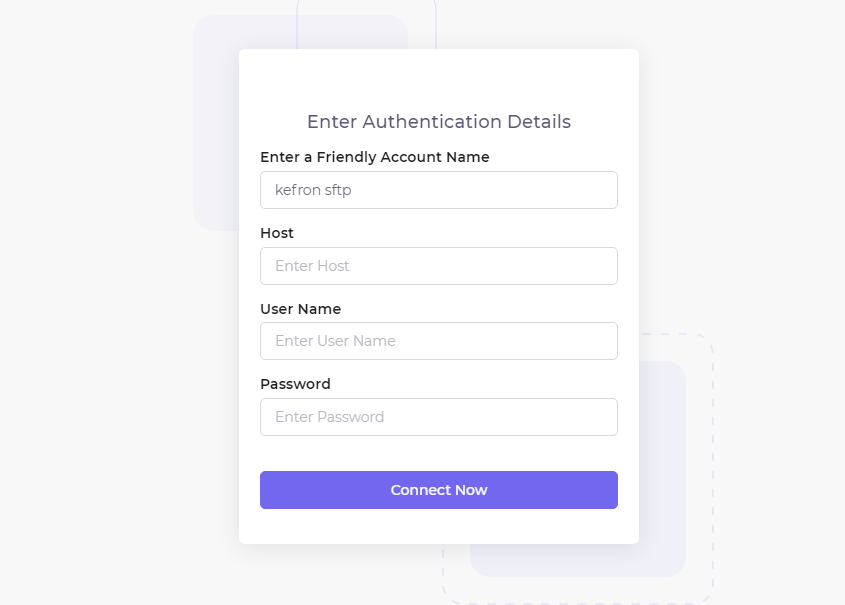
(i) Add a “friendly account name”,
(ii) Add your Kefron Token (SFTP) details, i.e., HOST, username, and password, and click on Connect now.
Note: To obtain Kefron tokens for connection with BrightConnect, contact Kefron Support at – info@kefron.com
Now it is connected, let's move to the last step.
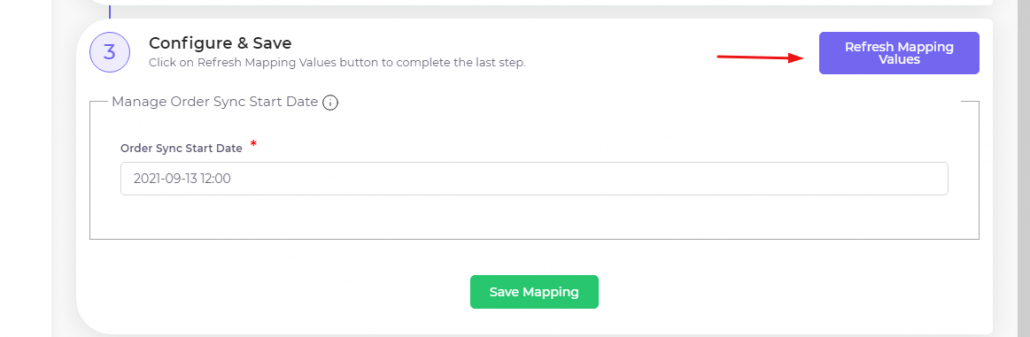
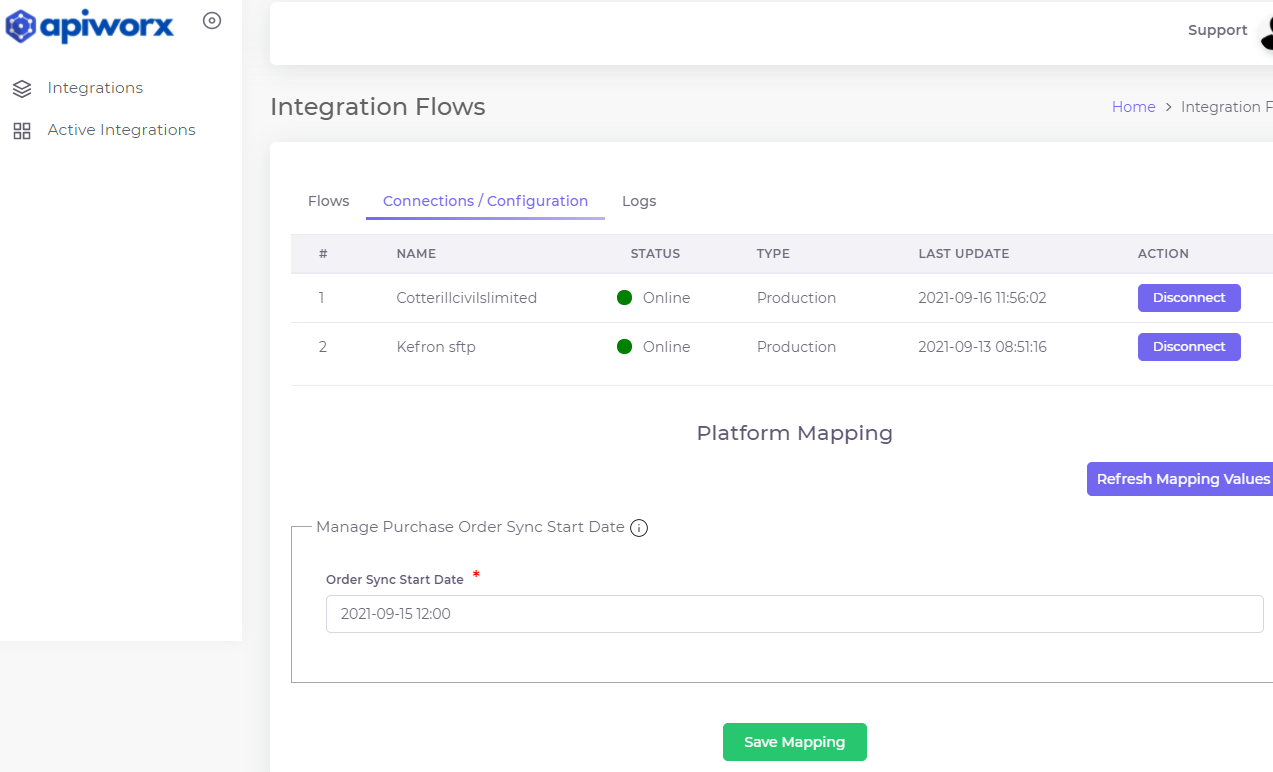
6. (c) Configure and Save – First, click on the “Refresh Mapping rules,” then select a date from which you want your orders to start syncing.
Note: The date selected here will indicate to our system when to start syncing the orders from that particular date.
ESB is now successfully connected with your Brightpearl and Kefron accounts.
Configuration setup of Brightpearl and Kefron on ESB App
Before moving to configuration, you must first connect Brightpearl and Kefron with ESB. For assistance, refer to this guide.
Now, let’s move to the configuration setup so you can start the connection of Brightpearl and Kefron:
- Navigate to the “active integrations” tab and click on the “Get details” button.

If you need to update account details, simply click on the “Disconnect” button. You will then be asked to connect again, and afterward, you can add your new account details.
3. You will now have the option to control which flows you want to use with a turn ON/OFF button.
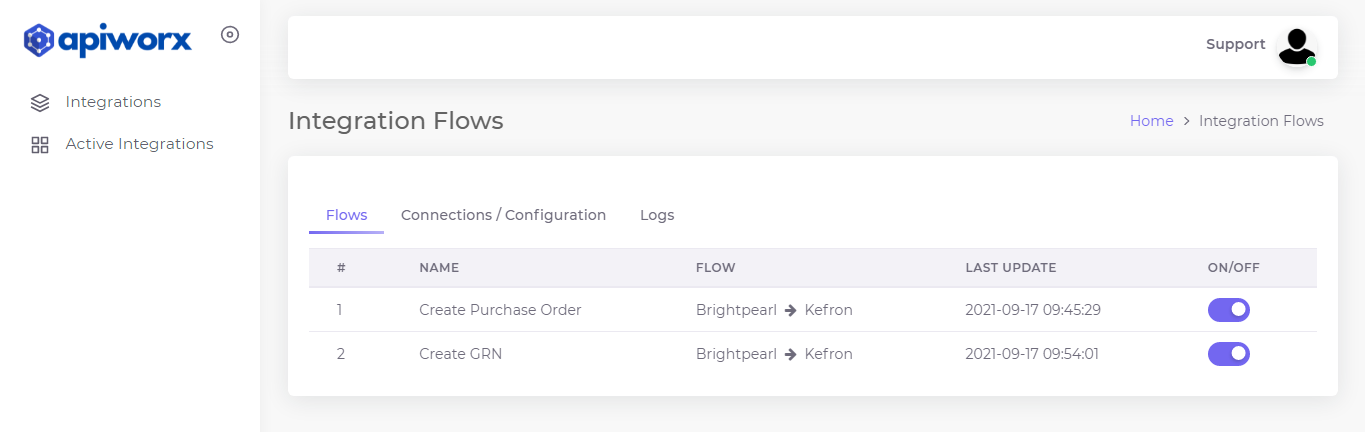
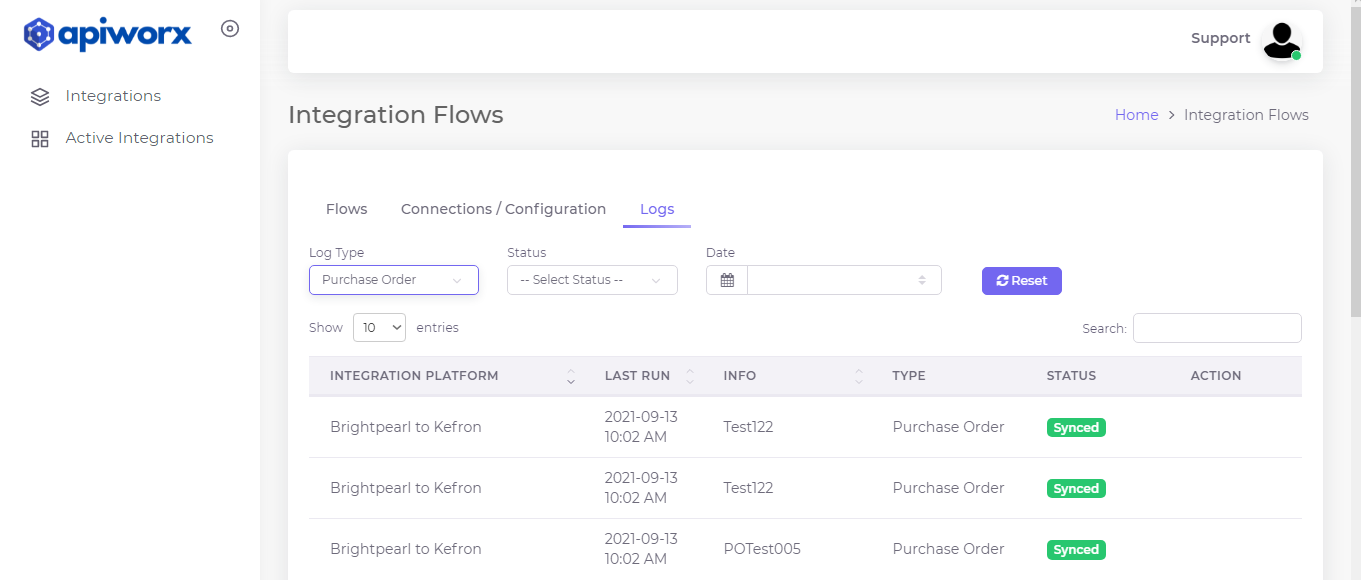
After you switch the initial data sync from Brightpearl and Kefron to ON, please wait some time to see the results in the logs section.