Seamless Integration of Shopify and Brightpearl: A Comprehensive Step-by-Step Guide
Getting Started: Connecting Your Accounts
To connect Brightpearl with Integration, permission is first required. Follow the simple instructions below to connect your personal portal with Brightpearl.
1. In BrightConnect's General Settings, enter your Brightpearl Account code and click on the "Connect" button.
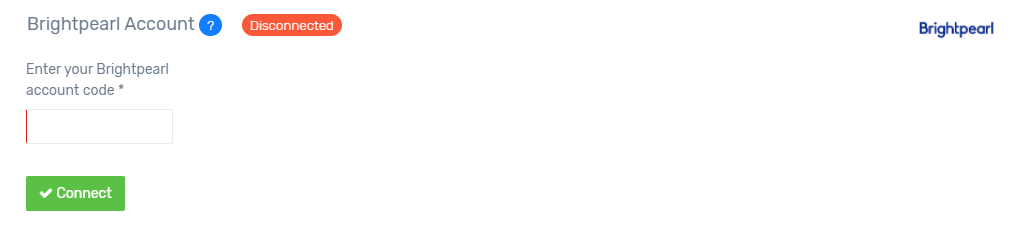
This action will redirect you to the Brightpearl login page (if you're not already logged in).
2. Log in to Brightpearl using your credentials.
3. Click on "Approve" to allow BrightConnect access to your Brightpearl data.

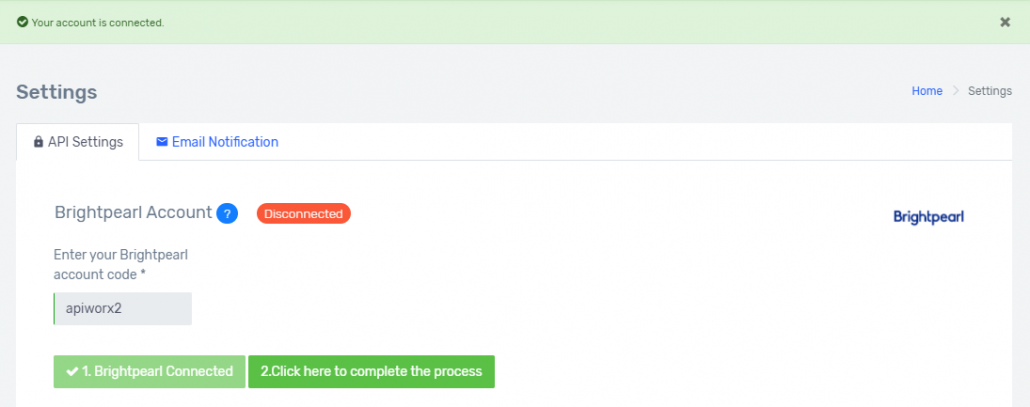
You'll then be redirected back to the General Settings page of BrightConnect, where you should see a success message.
4. Click on the second button, as shown below, to complete the connection process.
Once Brightpearl is connected, our system begins fetching all necessary data from Brightpearl. You will be notified via email upon completion of this process. To get started, you’ll need to configure the sync by going to the Settings page of BrightConnect.
Connect BrightConnect with Shopify
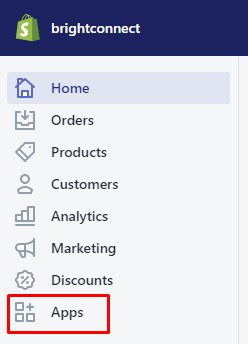
1. First, log in to your Shopify account. Note the highlighted part of the URL, as it will be used for API authentication in subsequent steps.2. Once logged in, click on the “Apps” option in your Shopify dashboard.
3. Next, click on “Manage Private Apps” to proceed.
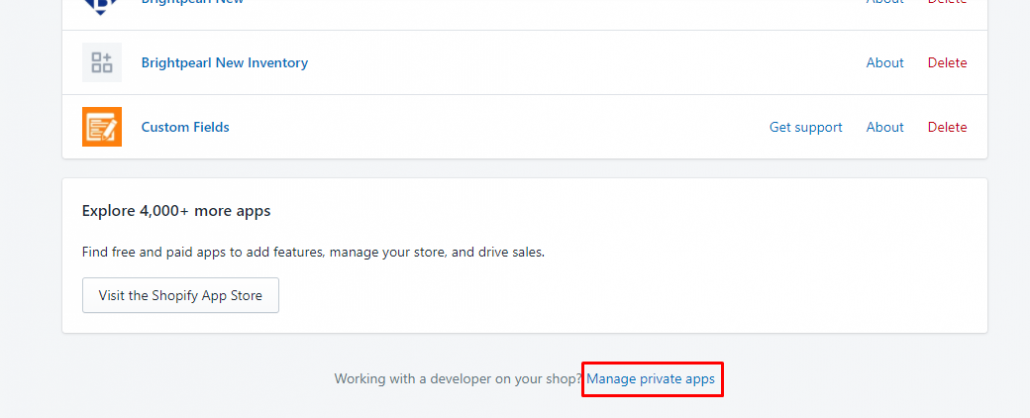
4. On the displayed page, create a new private app by clicking on the “Create a new private app” button.

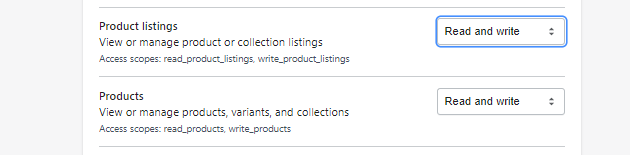
5. Enter all necessary details such as the app name and emergency developer email (e.g., support@apiworx.com). Grant access to various APIs (like products, orders, etc.) as required for this project's API calls. This access is crucial for fetching/creating products, orders, etc. Configure the access as shown below.
6. After saving, you will see a page with all the API details. Click on the “Show” link in the Password field to reveal the code.
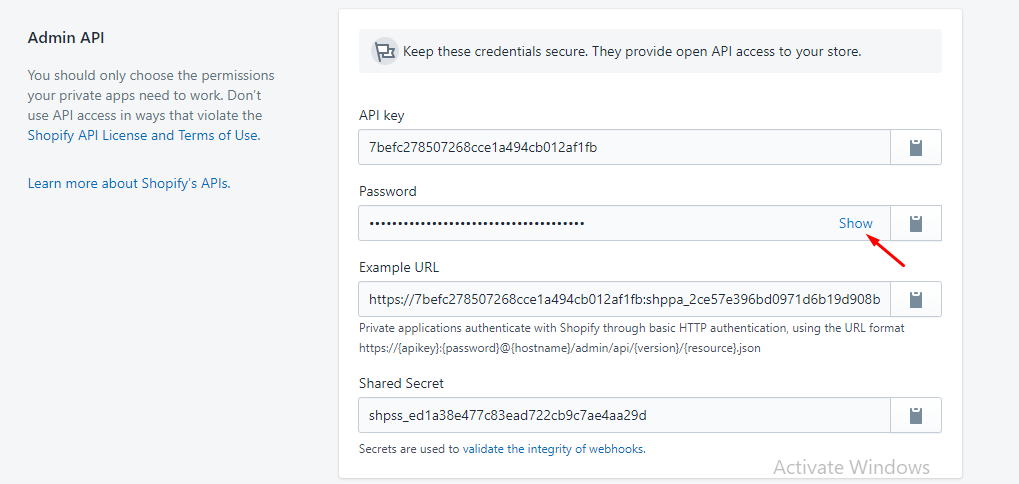
This code is your Shopify access token.
7. In the Portal, go to API Settings. Add the Shopify Token/Password along with your complete Store URL (as noted in Step 1). Then click on the "Connect" button to finalize the connection.

Congratulations, you have successfully connected Shopify!
Instructions to Get Started
BrightConnect enables the connection between Brightpearl and Shopify, unlocking the potential to significantly enhance your productivity. Ready to discover these superpowers?
Effortlessly synchronize key product field data from Shopify to Brightpearl. Below are the details regarding the field sync capabilities we support:
| Shopify | Brightpearl |
| Tags | Category |
| Product Type (metafield) | Category, Reporting category |
| Product Type custom | Product Type, Reporting Subcategory |
| Vendor | Brand |
| Description | Long Description |
| Images | Custom Field |
| Cost | Cost Price List |
| Price | Primary Supplier |
| Option | Option1 |
| Option value | Option value |
| Style code | Cost Sku |
| ISBN, EAN, UPC, | *Not Mapped |
*We do not receive values for the fields ISBN, EAN, and UPC from Shopify. When updating products in Brightpearl, it is necessary to provide values for these fields. Therefore, we simply pass the values that already exist in Brightpearl for these fields. If you wish to update these fields from Shopify, you will need to map them to Shopify’s custom fields; otherwise, these values will remain as they are in Brightpearl.
Note: Our product sync integration works in parallel with the existing native integration of Shopify and Brightpearl. Ensure that you have the Brightpearl app already installed and configured in your Shopify store. For more details, click here.
In addition to the above, our sync also facilitates the continuous synchronization of order notes from Shopify to Brightpearl, as well as order item updates from Brightpearl to Shopify.
To Set Up & Configure the Integration:
1. Email us at contact@apiworx.com to have an account set up for you.
2. After we create your account, you will receive an email with login details. Log in to the Portal and go to the settings page to configure your integration.
3. Navigate to API settings to connect your Brightpearl account and Shopify. For guidance, see:
- How to obtain Brightpearl API keys & connect them?
- How to obtain Shopify API keys & connect them?
You're done! Your BrightConnect configuration is now complete, ready to start the sync. If you have any questions, do email us at contact@apiworx.com.
View Product Sync Logs
In our BrightConnect Portal, product sync logs are recorded for data synced from Shopify to Brightpearl. To view these details, follow the steps below:
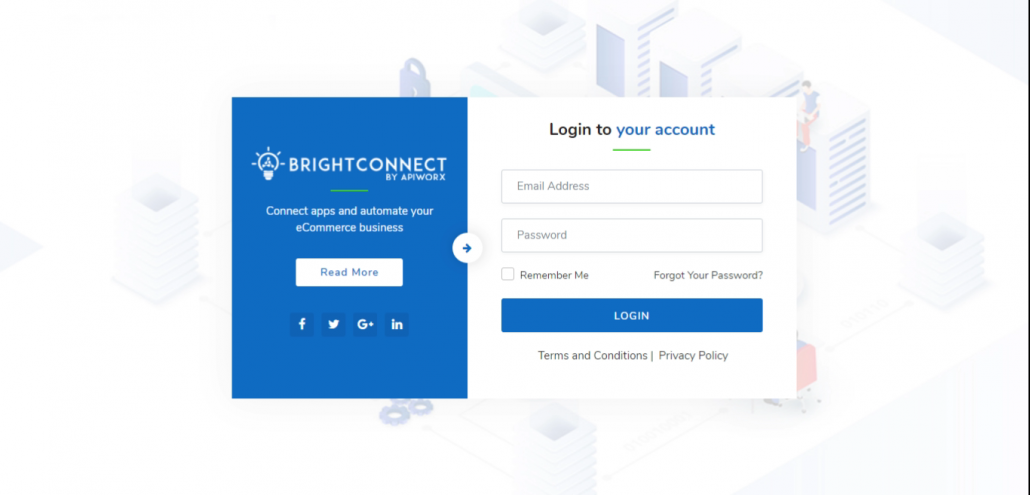
1. Log in to BrightConnect.
Note: If you don’t have an account with BrightConnect yet, email us at contact@apiworx.com, and we’ll assist you as soon as possible.
2. On the Dashboard, navigate to Shopify > Shopify Product on the left side.

In the Product Logs, you will find detailed information, with key columns highlighted below:
i) SKU: Displays the SKU of the product.ii) Title: Shows the product name synced from Shopify to Brightpearl.
iii) Product Type: Indicates the product type
iv) Vendor: Provides vendor information of the product.v) Barcode: Lists the barcode information of the product.
vi) Inserted At: Indicates when our system fetched Shopify data and inserted it into BrightConnect for processing.
vii) Sync Status: Shows the sync status from Shopify to Brightpearl, with possible statuses being Pending, Synced, Failed, Ignored. 'Pending' generally means that settings are incomplete or sync is in progress. 'Synced' indicates successful synchronization, 'Failed' for unsuccessful attempts, and 'Ignored' for products set to be ignored in Shopify Settings.
viii) Updated At: Displays the last update time of the product, indicating when it was last updated from Shopify to Brightpearl.
Reprocess Button: Use this button to reprocess all products. If you have updated the mapping and want to sync all products from Shopify to Brightpearl, click on this button to initiate syncing with the updated mapping.
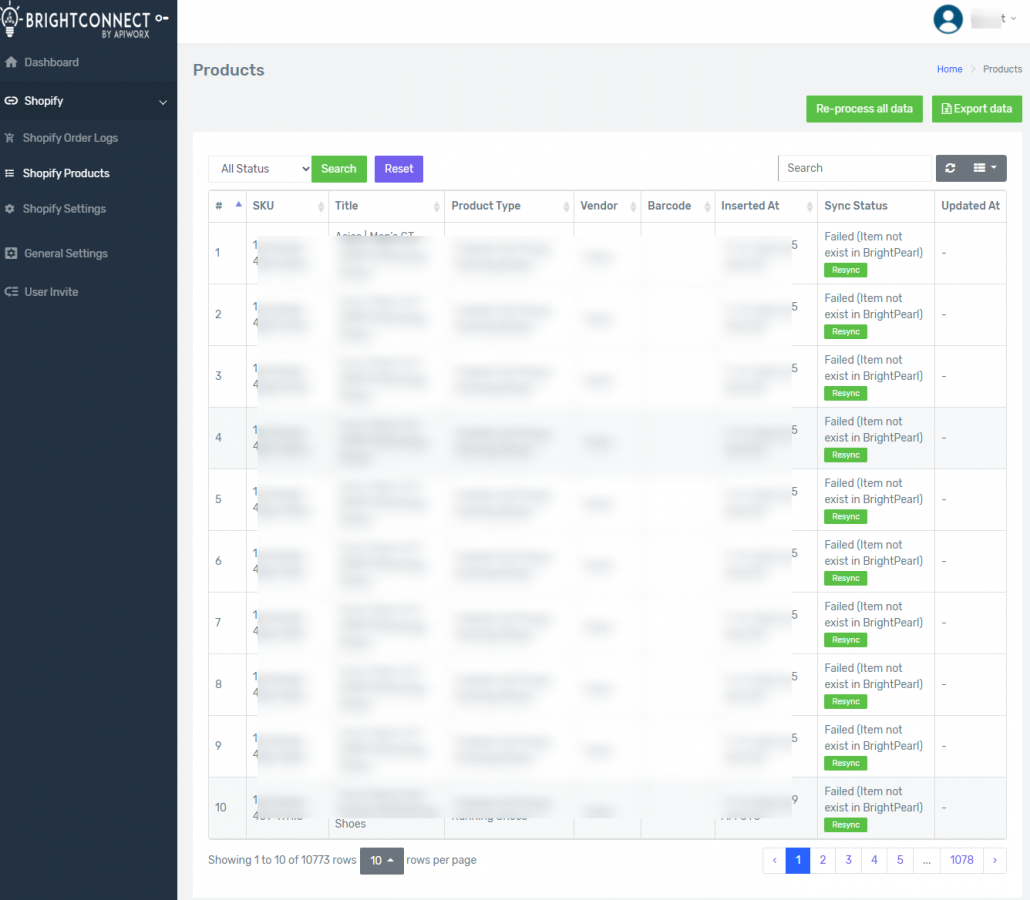
Export Button: This feature allows you to export a list of products. You can export based on the selected status using the status filter.
Resync Button: Use this for products that failed to sync to Brightpearl due to missing details like SKU or if the item was not found in Brightpearl. After adding these details in Brightpearl, click the resync button to sync them. This process also happens automatically, but if you wish to sync them immediately, use this button for the specific product.